ScanSecure User Guide: Complete Registration and Platform Usage Guide
Who is ScanSecure For?
ScanSecure is for people who need an easy way to manage their security activities. This includes individuals, professionals, businesses and organizations. ScanSecure is for anyone who wants to manage their security services in one place.
The platform is useful for:
- People who want to find security solutions
- Medium-sized businesses
- IT professionals and security teams
- Organizations that want to improve their security management
- People who need to access security tools and services from one place
Key Features of ScanSecure
User-Friendly Dashboard
Secure Account Management
Easy Navigation
Organized Access to Services
How to Register on ScanSecure
Step 1: Visit the ScanSecure Website
Step 2: Click on Sign Up or Register
Step 3: Enter Your Details
Step 4: Verify your information
Step 5: Complete Registration
How to Log In
After you register:
- Go to the login page on the ScanSecure platform.
- Enter your email address that you used to register on ScanSecure.
- Enter your password that you created for ScanSecure.
- Click the Login button to access your ScanSecure account.
Dashboard Overview After Payment
When the ScanSecure payment team has finished processing your payment and your ScanSecure account is activated you will be able to see the ScanSecure dashboard. The ScanSecure dashboard is the place where you can manage your ScanSecure account use the services that are available to you and look at important information about your ScanSecure subscription.
What You Can See on the ScanSecure Dashboard
What you see on the ScanSecure dashboard depends on what kind of ScanSecure subscription you have and what type of ScanSecure account you are using. The ScanSecure dashboard may have:
- ScanSecure account information
- ScanSecure subscription status
- Features that are available to you
- Your ScanSecure user profile information
- ScanSecure updates
- ScanSecure account settings
The ScanSecure dashboard is made to help you get to all the parts of your ScanSecure account quickly so it is easy to manage your ScanSecure account from one place.
How to Edit Your ScanSecure Personal Details
- Log in to your ScanSecure account.
- Go to the Profile or Account Settings part of the ScanSecure dashboard.
- Click on the Edit Profile option on the ScanSecure dashboard.
- Change the information that needs to be updated such as:
- Your full name
- Your email address
- Your contact number
- Your organization details if you have a ScanSecure organization account
- Click Save Changes to update your ScanSecure profile.
Managing Your ScanSecure Account
The ScanSecure dashboard also lets you look at your ScanSecure account information. Check your ScanSecure subscription status and change your ScanSecure settings whenever you need to. Keeping your ScanSecure profile information up, to date helps you have an experience when you are using the ScanSecure platform.
Using ScanSecure Features
Accessing Available Services
Look through the menu to find features and services on the ScanSecure platform. You can use the ScanSecure menu to find what you need.
Managing Your Profile
You can update your account information through profile settings on the ScanSecure platform. Use the profile settings to keep your information up to date on ScanSecure.
Viewing Account Information
The dashboard on the ScanSecure platform allows you to access and manage your account details. You can see all your account information in one place on the ScanSecure dashboard.
Monitoring Activity
You can review platform activity. It updates directly from the ScanSecure dashboard. The ScanSecure dashboard shows you what is happening on your account.
How ScanSecure Works
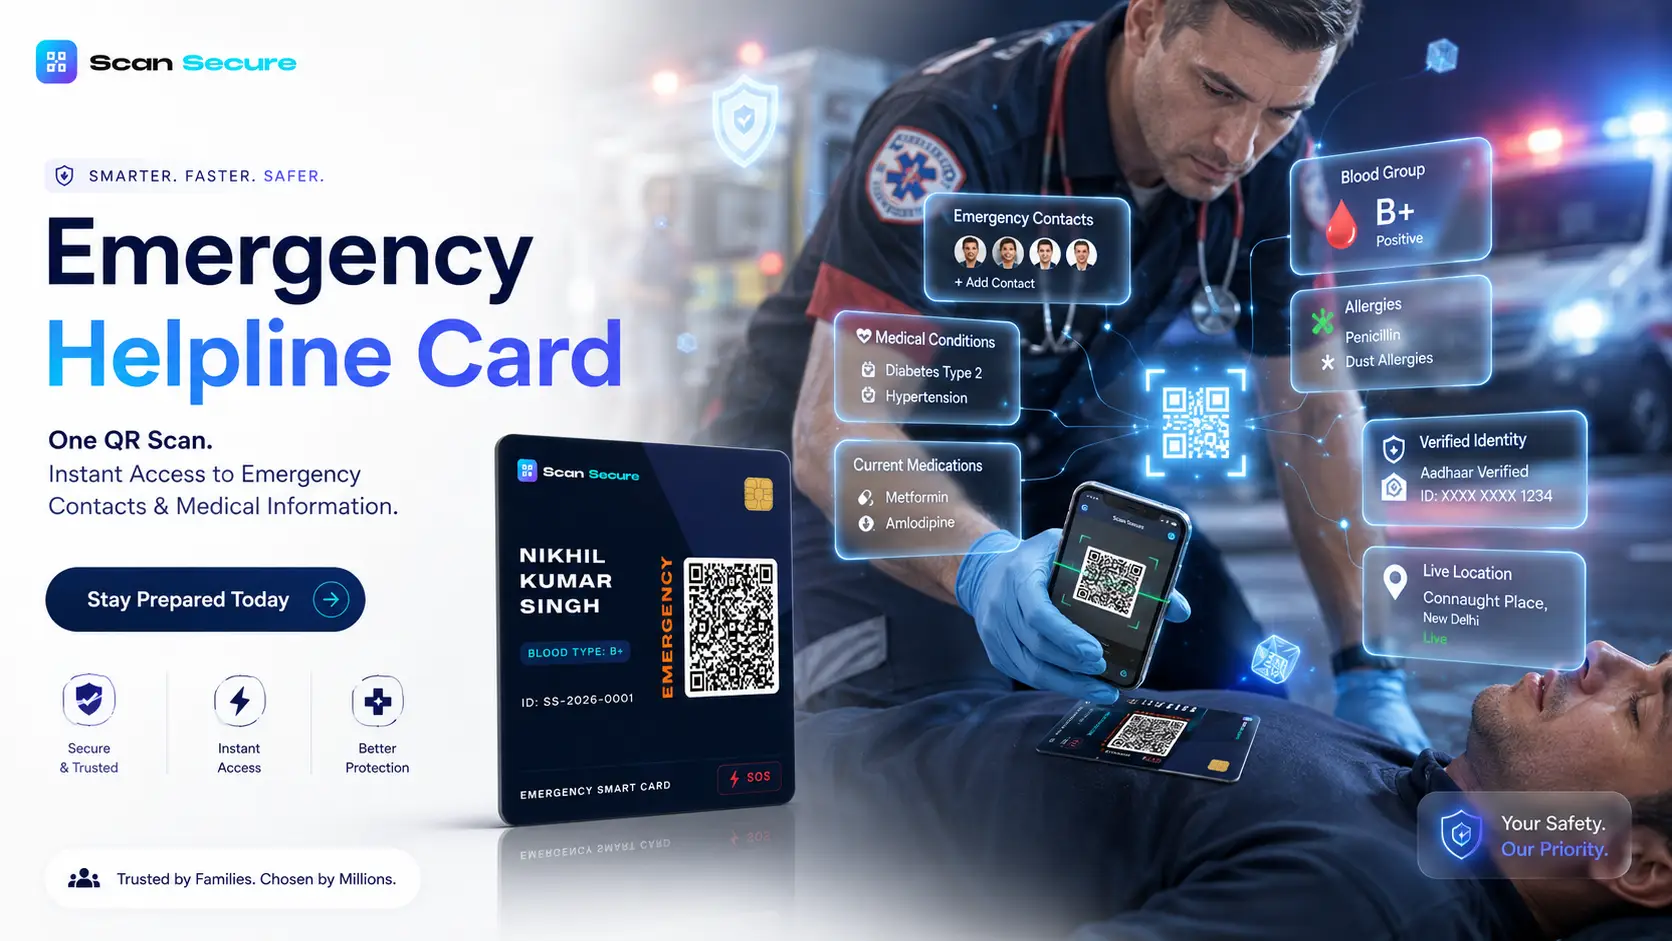
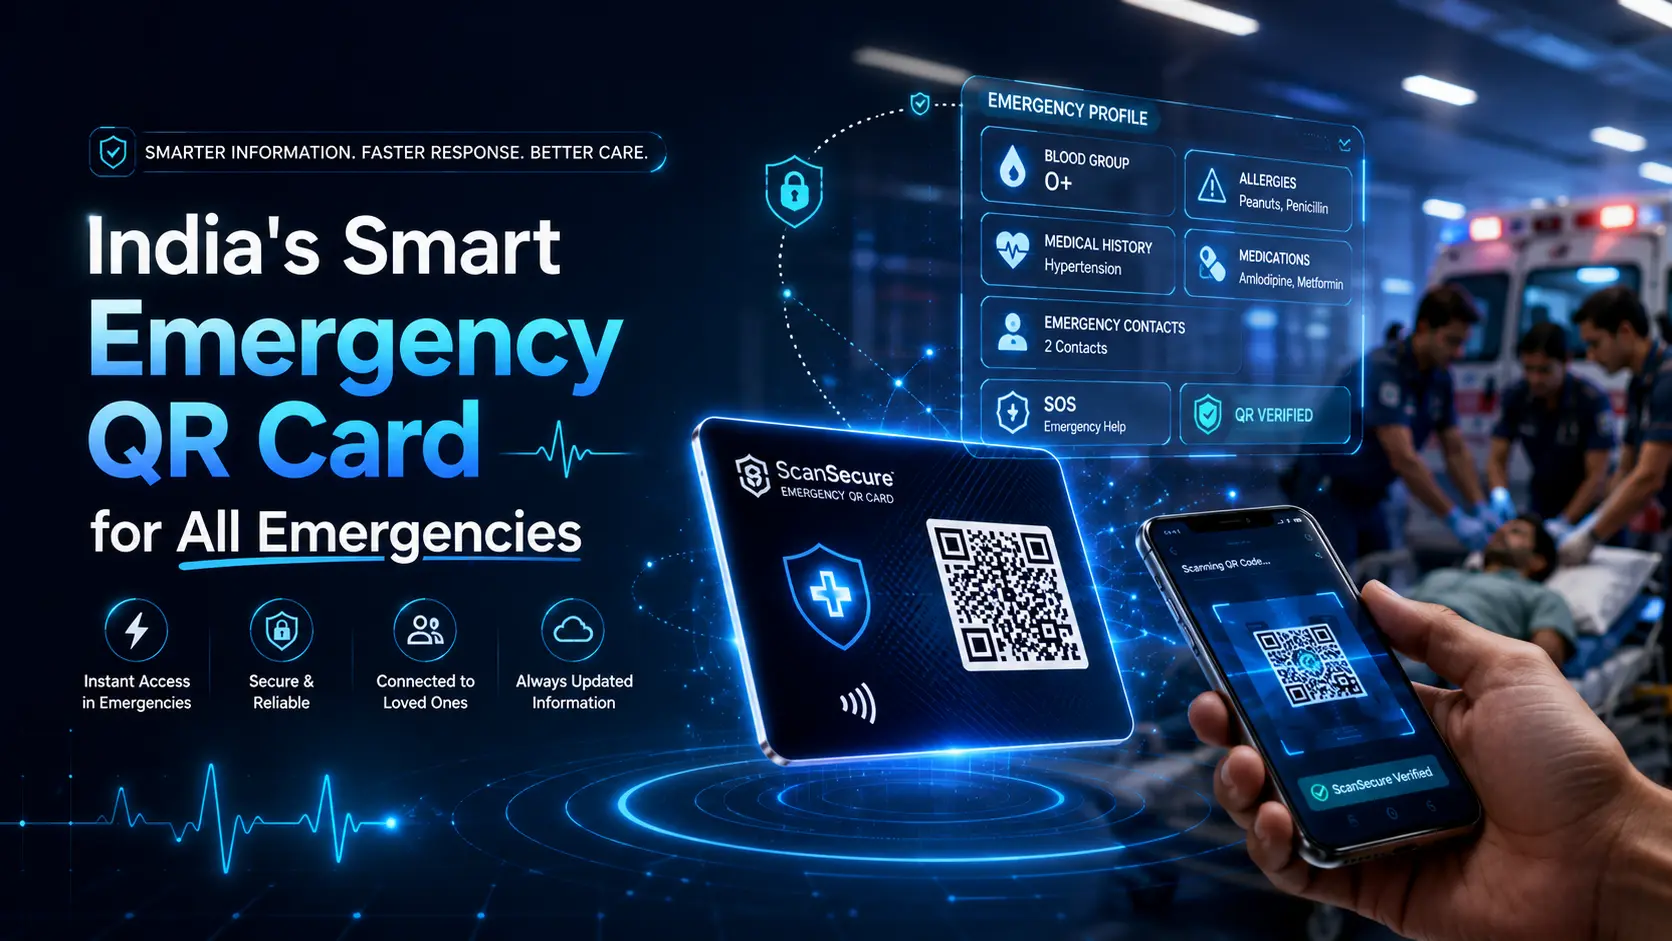
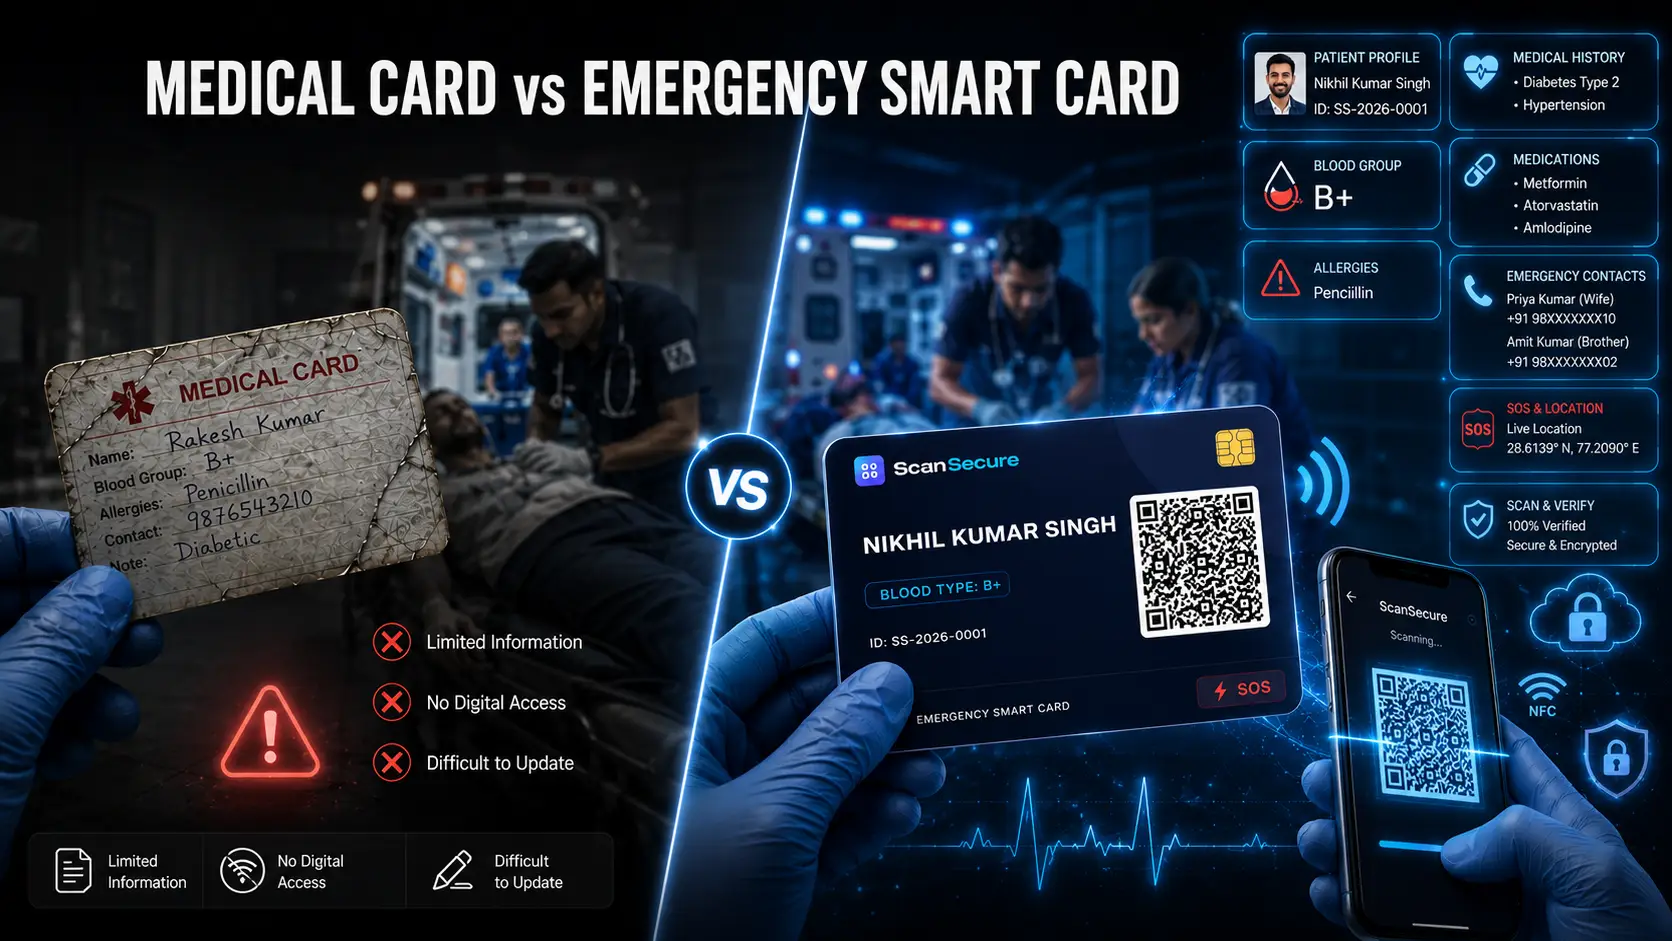
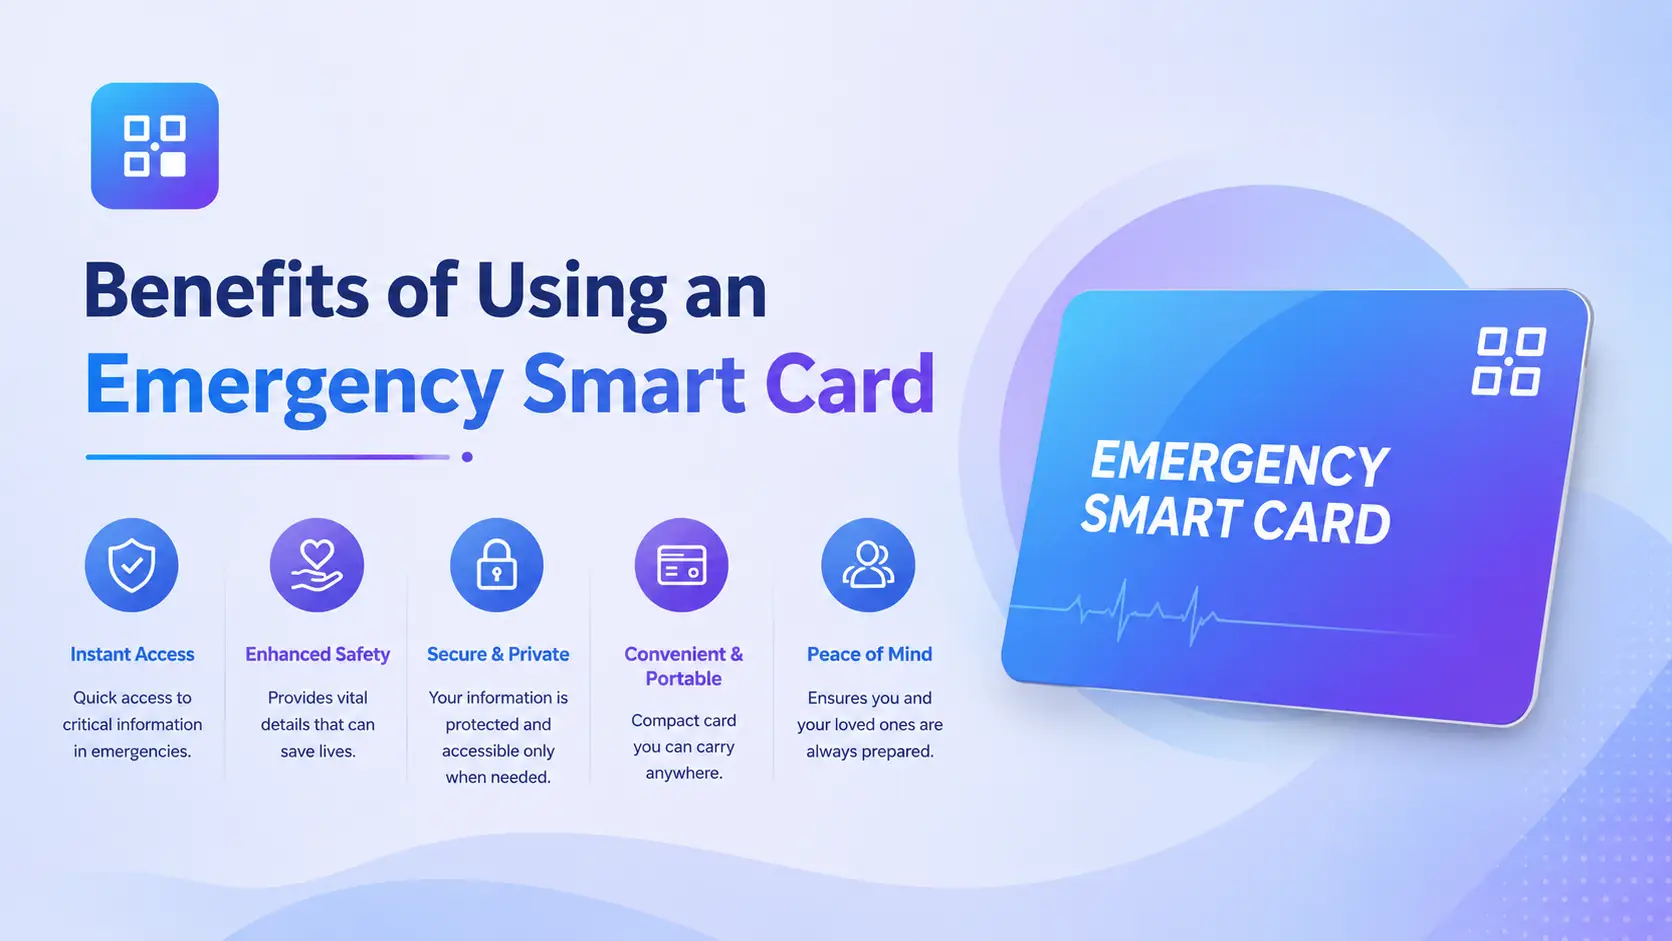
ScanSecure helps people get information quickly in emergencies. The platform is easy to use. Makes sure people have the right details when they need them most.
Step 1: Order and Register
Users start by ordering a ScanSecure card and signing up. During signup they add details like their personal info, emergency contacts and medical info.
Step 2: Card Delivery
After signing up the ScanSecure card is sent to the user. The card has a QR code that connects to the users profile.
Step 3: Carry It Always
Users should keep the ScanSecure card with them all the time. This way the card is ready when they need help.
Step 4: Scan and Help During Emergencies
In an emergency the QR code on the card can be scanned to get the users information. This helps responders, medical staff or emergency contacts get the details quickly and provide better help.
Frequently Asked Questions (FAQ)
1. Is registration on ScanSecure free?
Check the pricing and subscription information on the ScanSecure platform to see if registration is free. You can find this information on the ScanSecure website.
2. How do I reset my password?
Use the “Forgot Password” option on the ScanSecure login page. Follow the instructions. This will help you reset your password on ScanSecure.
3. Is my information secure?
The ScanSecure platform is designed with security in mind. Follows security practices to keep your information safe. ScanSecure takes security seriously.
4. Can I access ScanSecure from devices?
You can access the ScanSecure platform through mobile browsers and supported devices. Try using the ScanSecure platform on your device.